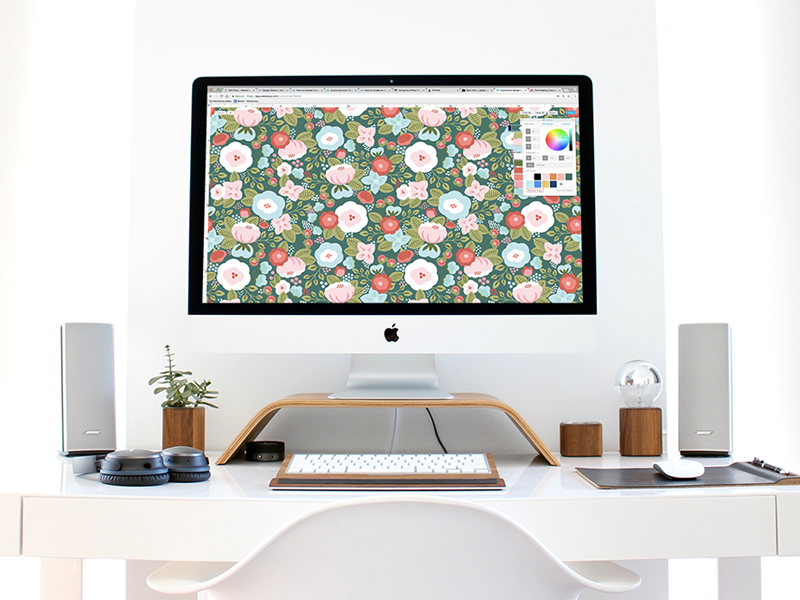
Disclosure: While allowing for your designs to be color-editable significantly improves your chances of selling on WeaveUp, it does not mean all designs are good candidates for Color-Customization on WeaveUp. Some designs are so rich and complex that it’s best to create various color versions of the same design in Photoshop and upload them individually.
This tutorial is for designs intended to have 12 colors or less, but because of the way they were created/saved now have a bit more than that. Here are a few bullet points to consider before diving in:
- All updated designs go through our curation process, where our design team will inspect and ensure the design is free of technical flaws {such as image quality and repeats} and is color-editable. There are multiple guidelines we follow, and the below are the results:
- No Technical flaws = your design can be put up for sale.
- Color editable = we enable this customization on our end, and, next time you see your design, you’ll be able to recolor it.
- Technical flaws = we may reach out to you and collaborate with you on correcting it. Your design will remain unpublished while issues are resolved.
In this section, we will teach you how to ensure your design is set up correctly to be color-customizable using Adobe Photoshop and Adobe Illustrator. For this tutorial, we are using the CC versions of these programs, but they are similar enough to other versions and you might still be able to follow these steps depending on your version.
Photoshop:
-
-
- Open your raster design in Adobe Photoshop TM.
- Click: Image > Mode > Indexed {most likely, your image will be in RGB}

- An Indexed Color window will pop up. If your design contains 256 colors or fewer, “Exact” will be visible. If not, you will want to select “Local perceptual” and choose the number of colors. In this example, we show a design with 256 colors or fewer. Select the following: Palette: Exact > Colors: Will tell you the exact number, in this case, 17 > Forced: none.

- Note: if you count the intended actual colors on this design, the total is 12, however, since it’s an RGB file created in Photoshop, the objects have “soft edges”, so there are more colors. Here’s a closeup:

- Select the following: Local (perceptual) > Colors: any appropriate amount under 12 > Forced: None > Transparency: Un-checked > OK
 Note: it’s good to double check yourself, and zoom into your image after doing this, to ensure that your edges look clean. Removing the rest of those diffused colors will help allow your image to be color-editable in our platform. You will likely need to do some clean-ups with your pencil tool {not a Photoshop Brush!} at this point as you will likely have stray pixels floating around. Below is what the edges should change to, notice there are no stray pixels and the colors are solid and clean:
- Save your image as a TIFF file and now it’s ready for upload! Instructions on uploading files can be found here.
-
Illustrator:
-
-
- Open your design in Adobe Illustrator TM. { It should be an .ai file }
- Check the number of colors in your design. Your goal is to have 12 or fewer. Click: Edit > Edit Colors > Recolor Artwork

- Make sure your design has 12 colors or fewer:

- Click: File > Export > Export as

- A pop up will appear, name your file, select tiff as your format, make your selections, typically, designers will check the “Use Artboards” option.

- On the next screen, select the following: Color Model: RGB > Resolution: 150ppi > Antialiasing: none > LZW Compression: unselected > OK

- Your image is now saved as a tiff and ready for upload! Instructions on uploading files can be found here.
-


Leave A Comment