Learn how balancing light in your image will help you get better printed results. WeaveUp’s Guide to design will teach you how to set up your work properly using various tools and design basics. We’ve broken this guide into a series of multiple short & simple posts that will be easy to follow and take you steps closer to creating the design of your dreams.
Lighting:
Hand drawn or painted designs will need to be digitized somehow, typically, these designs are either photographed or scanned. Something to note about both is that various devices will have different outputs. The ideal form for WeaveUp is a resolution of 150DPI or above.
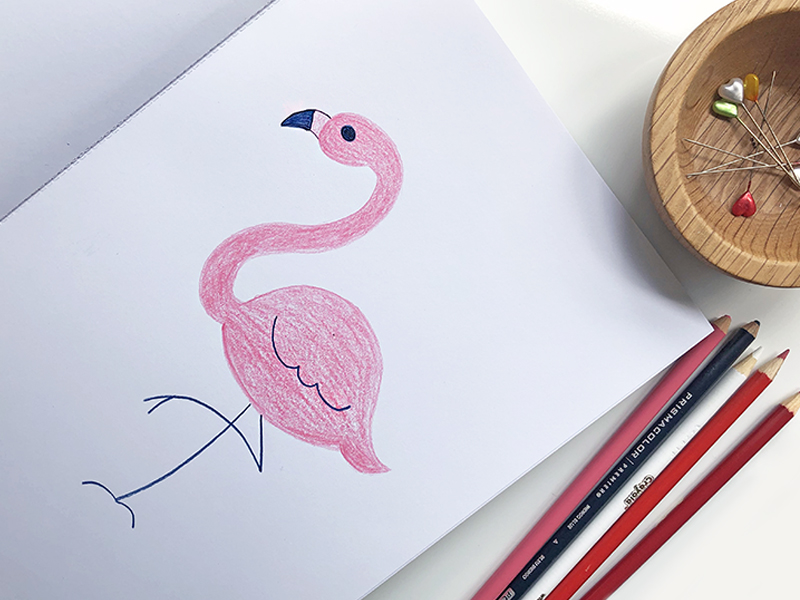
Step 1 Digitize your image: For this post, we photographed this Flamingo drawing, and opened the photo in Photoshop. If you look close, the background of this image has uneven lighting.

Step 2 Adjust Brightness & Contrast: Open your image in Photoshop, then click on: Image > Adjustments > Brightness/Contrast. A Box will pop-open, using the sliders, give your image more light and contrast. Every image will need different adjustments, sliding the arrow to the right-hand side will increase the brightness and contrast, sliding it to the left will decrease it.

Step 3 Using a Brush: sometimes the previous step is not enough to completely even out the lighting, in this case, we also recommend trying a soft brush.
 Step 4 Finishing Touches: Once the background’s light is as even as possible, adjusting the brightness and contrast one last time will help finish this process.

Leave A Comment